Welded Wire Fence Installation: Durable Pasture & Agricultural Fencing Solutions
At AKA Land Services, we specialize in welded wire fence installation, a time-tested, reliable solution for pasture fencing and broader agricultural applications. Combining sturdy wooden posts, horizontal rails, and woven wire mesh, this type of fence is ideal for securing livestock while delivering durability and long-term performance. Whether you’re fencing cattle, horses, or mixed livestock, our professional installation ensures your fence functions safely and looks great for years to come.

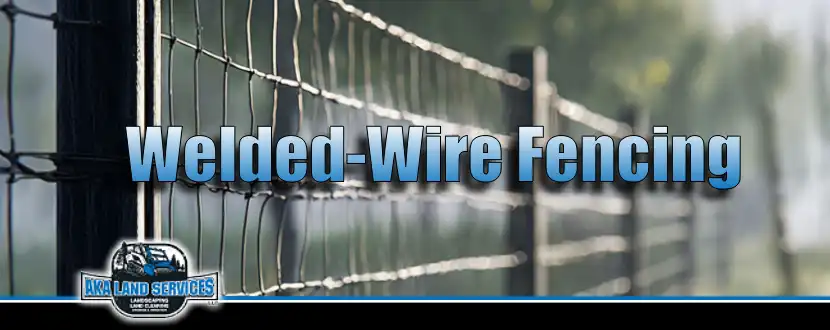
What Is a Welded Wire or Buck & Rail Fence?
A welded wire fence, also called a buck-and-rail fence, is a classic agricultural fencing style that unites strength and functionality. Its structure usually includes:
- Wooden posts: Vertical supports set at regular intervals for maximum stability.
- Horizontal wooden rails: Form a strong framework to resist pressure from livestock.
- Woven wire mesh: Provides secure containment for livestock while maintaining visibility.
While names such as “field fence” or “livestock fence” are often used generically, a true buck-and-rail fence uses this combination of wood and wire to maximize both sturdiness and effectiveness. Its design makes it ideal for pasture management, helping prevent escapes, reduce animal damage, and last for decades with proper care.


Advantages of Welded Wire Fencing for Pastures and Agriculture
Durability for Agricultural Fencing
Welded wire fencing combines the toughness of wooden rails with the strength of woven wire. This makes it fitting for agricultural fencing, standing up to livestock pressure, extreme weather, and routine wear and tear.
Safe Livestock Containment
From horses and cattle to sheep and goats, a welded wire fence provides secure containment. The woven wire stops animals from getting through, while the wooden rails distribute pressure evenly to prevent damage.
Low Maintenance
Unlike metal-only fences or plastic alternatives, welded wire fencing requires minimal maintenance. Wooden rails can be treated for rot resistance, and woven wire can be selectively repaired if needed.
Customizable to Any Property
We tailor each pasture fence or agricultural fencing project to your land. Post spacing, rail height, and wire tension are customized to your livestock, terrain, and property layout.
Aesthetic & Functional
Buck and rail fencing isn’t purely practical—it also looks professional. Its country charm improves your property while clearly marking pasture or farmland boundaries.


Expert Fencing Services in Lexington, Columbia, & Irmo
Installing pasture or agricultural fencing calls for precision, planning, and expertise. At AKA Land Services, we offer years of experience installing barbed-wire, rail, and welded-wire fences across Lexington, Columbia, and Irmo.
Our services include:
- Property assessment and fence layout planning
- Post selection, setting, and alignment
- Buck-and-rail installation
- Woven wire integration for secure livestock containment
- Final quality inspection for long-term durability
We focus on delivering pasture and agricultural fencing that protects your livestock and withstands years of use.


Why Choose AKA Land Services?
- Specialized Expertise: Years of experience in welded wire fencing installation.
- Top-Grade Materials: Durable wood and woven wire for maximum longevity.
- Customized Solutions: Fences made for your livestock, terrain, and pasture needs.
- Reliable & Efficient: From start to finish, we guarantee professional, timely installation.
With AKA Land Services, your property gains a fence that not only performs well but also adds value and security to your agricultural operations.
Start Your Fence Project Today
Invest in a fence that keeps your livestock safe, upgrades your property, and endures the test of time. Contact AKA Land Services today for a free consultation and quote for buck and rail fence installation, welded wire fencing, pasture fencing, or agricultural fencing. Our skilled crew guarantees your fence is professionally installed, secure, and perfectly suited to your property.
Request your fencing quote online or call 803-518-4312 to discuss your project.